• What to Know About Polyaspartic Coatings: Performance, Price & Precision

    What to Know About Polyaspartic Coatings: Performance, Price & Precision

    When it comes to high-performance concrete coatings, polyaspartic has become a go-to for clients needing quick turnaround, durability, and a clean, modern finish. But while it offers major advantages in the right settings, it’s not the best choice for every project — especially for aviation hangars.

    What Is Polyaspartic?

    Polyaspartic is a fast-curing, UV-stable, polyurea-based coating that delivers:

    • 1–2 hour cure times
    • Excellent chemical and abrasion resistance
    • Long-lasting clarity and flexibility
    • Next-day return to service

    It’s ideal for garages, patios, commercial spaces, and even industrial floors — but not every environment benefits equally.

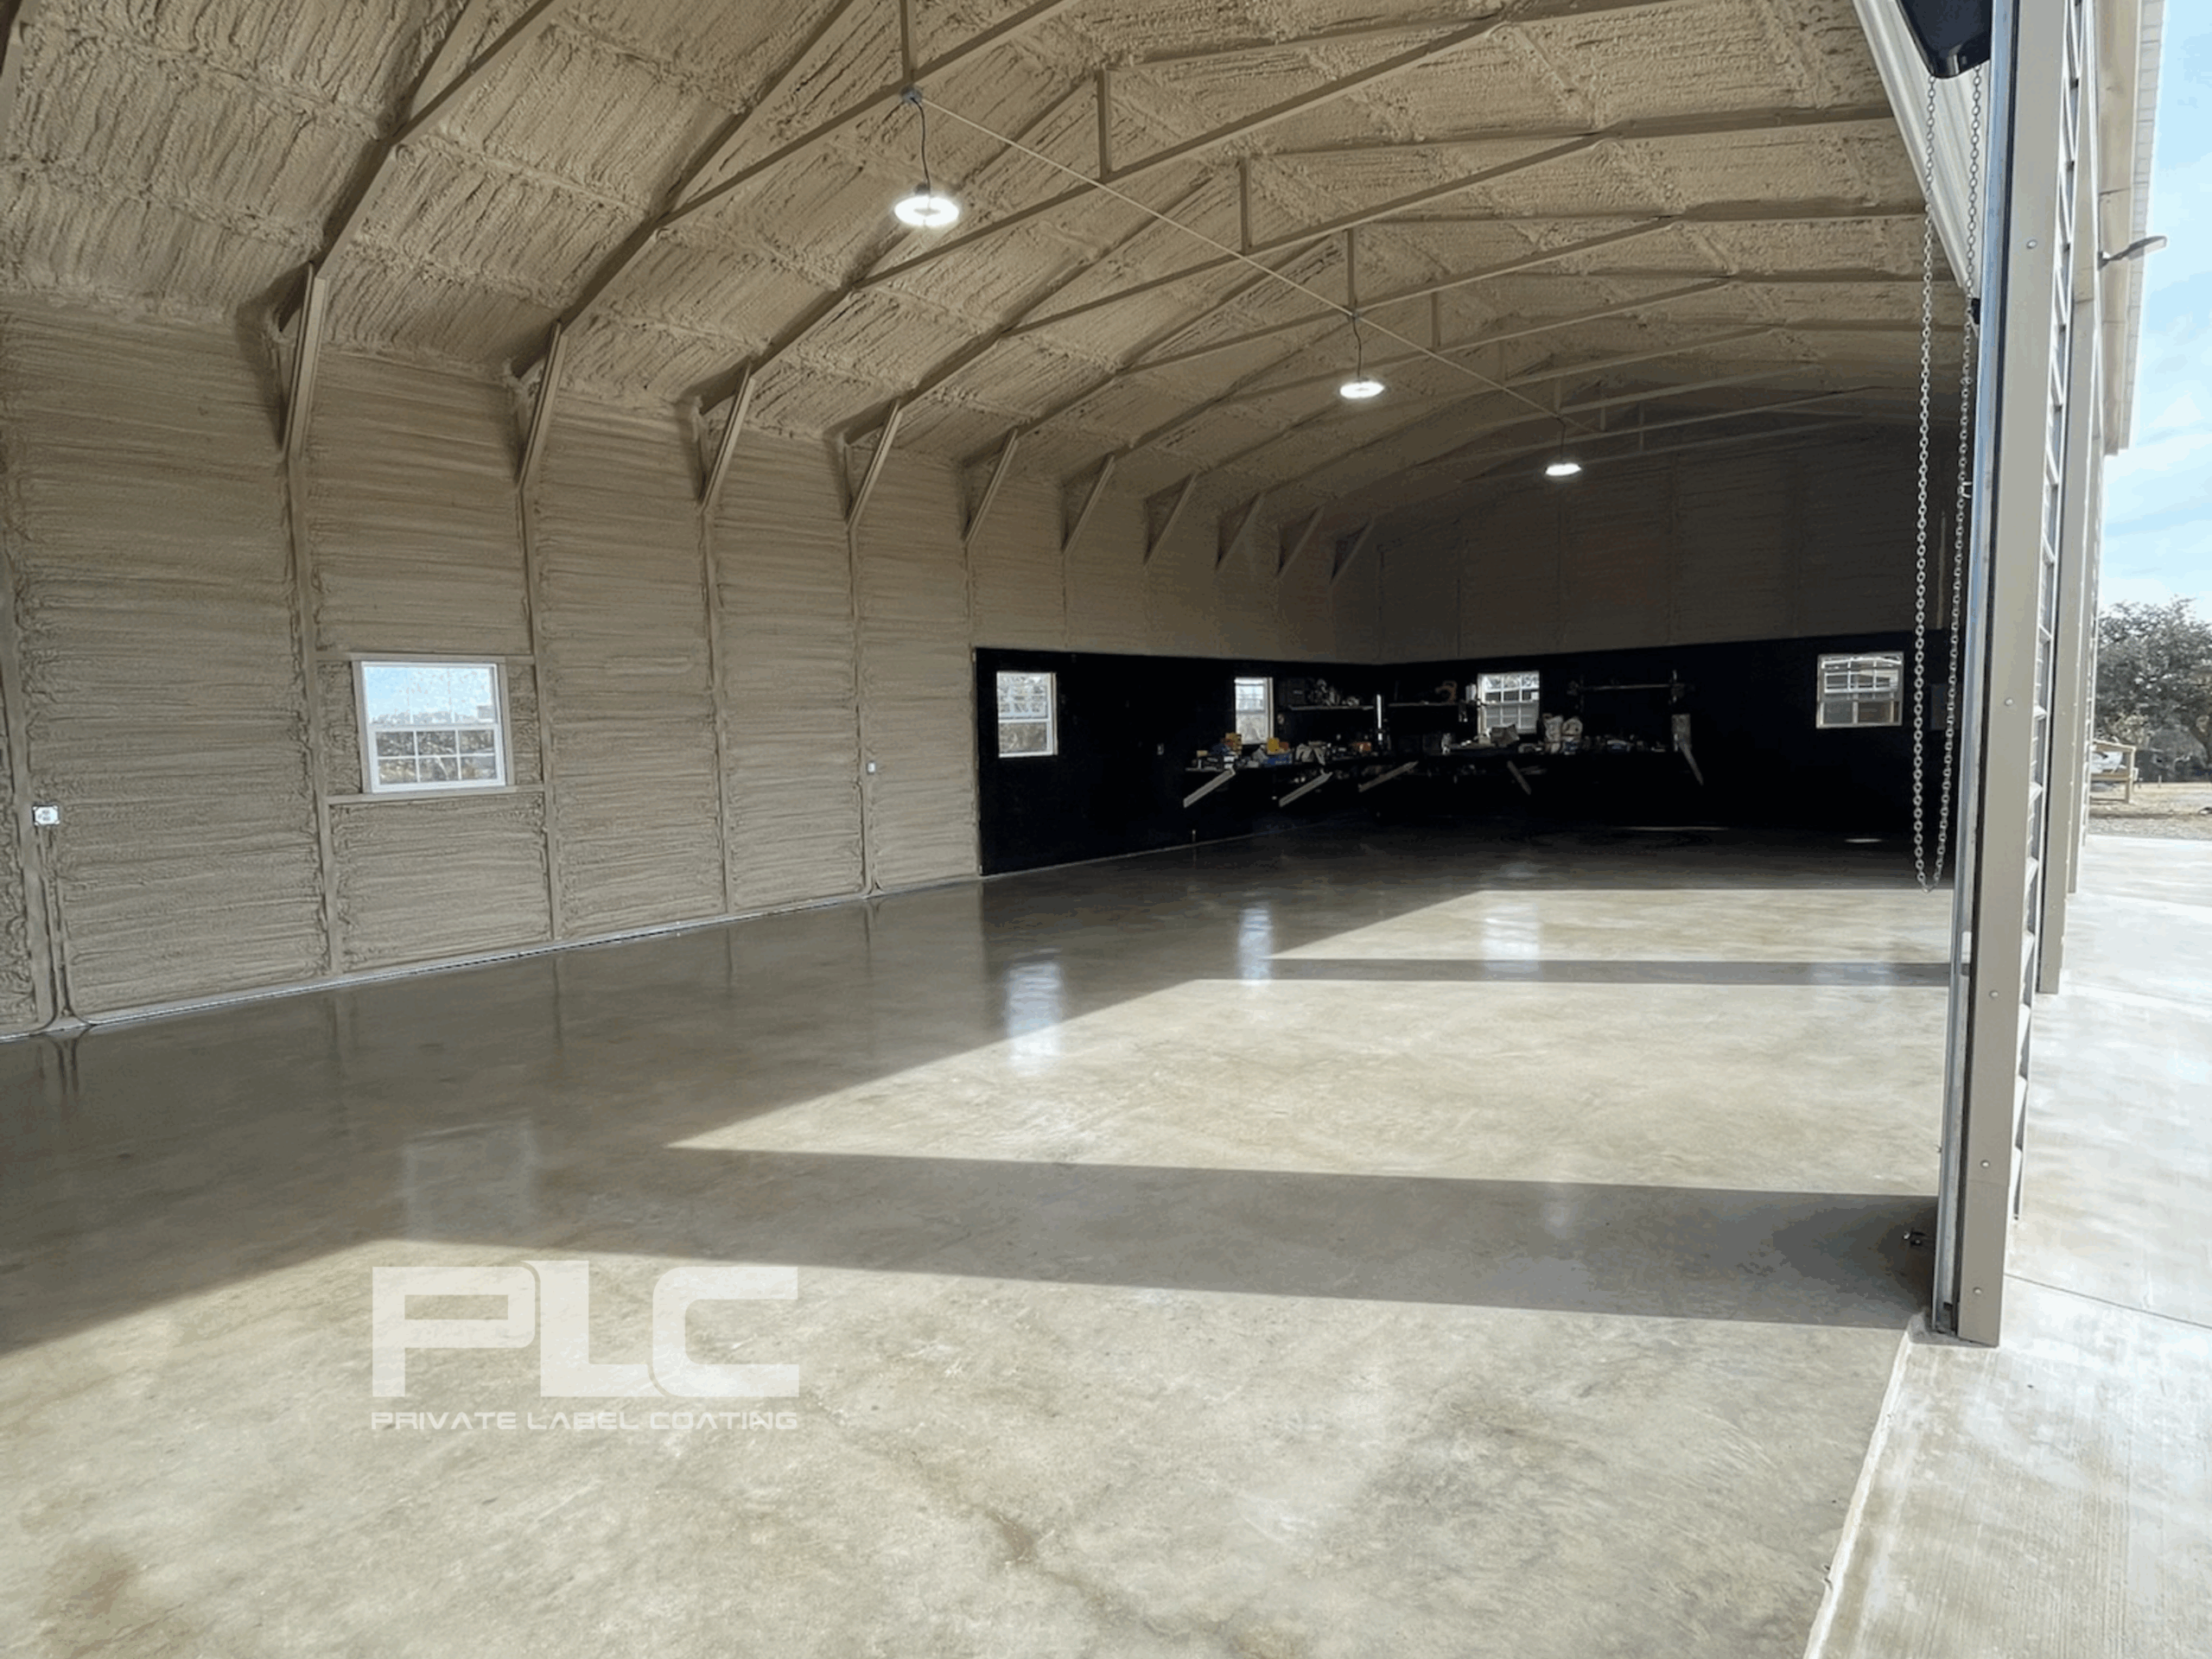
    Why Polyaspartic Isn’t Ideal for Aviation Hangars

    In hangars or aircraft maintenance environments, a polyaspartic-only system simply doesn’t hold up the way a proper multi-layer epoxy system does. Here’s why:

    Jet Fuel & Hydraulic Fluid Resistance:
    Polyaspartics can resist many chemicals, but aviation-grade fluids like Skydrol and jet fuel can break them down over time. A 100% solids epoxy system with a urethane topcoat provides superior long-term resistance.

    Film Build & Thickness:
    Polyaspartic systems are often applied thin (8–12 mils). Hangar floors require heavier build coats (20–40+ mils) to withstand heavy equipment, impact, and chemical loads.

    Layered Defense Matters:
    A three-layer system — typically primer, 100% solids epoxy build coat, and urethane or polyaspartic topcoat — offers:

    • Stronger chemical resistance
    • Higher impact durability
    • Longer service life
    • Easier repair and maintenance

    Cost vs. Longevity:
    While polyaspartic is faster and often more expensive upfront, epoxy systems are more cost-effective over time in demanding environments like aviation hangars.

    Bottom Line: Match the System to the Setting

    Polyaspartic is a premium coating option for the right project — but in aviation, where fuel, fluid, and function are critical, a high-build epoxy system with proper layering is the gold standard.

  • How to Prep Concrete for Polishing: Why It Matters More Than You Think

    How to Prep Concrete for Polishing: Why It Matters More Than You Think

    Polished concrete floors are known for their sleek, durable finish and low maintenance appeal—but achieving that flawless result starts long before the shine. Proper concrete surface preparation is one of the most critical steps in the polishing process. Without it, even the most high-end polishing equipment or sealers won’t perform as expected.

    In this post, we’ll walk through what concrete prep involves, why it’s so important, and what you can expect when you hire a professional to do it right.

    Why Concrete Prep Is Essential Before Polishing

    Concrete polishing is not just a cosmetic procedure—it’s a multi-step mechanical process that requires a clean, uniform, and structurally sound surface. Skipping or rushing the prep stage can result in:

    • Uneven sheen or gloss
    • Exposed cracks or imperfections
    • Poor adhesion of densifiers or sealers
    • Reduced durability and lifespan

    At Private Label Coating, we take preparation seriously. Our goal is to create a smooth, defect-free surface that’s ready to take on the polishing process and hold up for years to come.

    Key Steps in Prepping Concrete for Polish

    1. Surface Cleaning & Debris Removal

    Before anything else, we clean the surface thoroughly. This includes sweeping, degreasing, and removing any adhesives, coatings, paints, or surface residues that may interfere with the grinding or polishing stages.

    2. Moisture Testing

    If moisture levels are too high, it can affect polishing results and lead to long-term issues like delamination or hazing. We check for vapor transmission and recommend moisture mitigation if necessary.

    3. Crack Repair & Patching

    Visible cracks or holes in the concrete are filled or repaired using specialized patching materials. These areas are then blended in to ensure they don’t stand out after polishing.

    4. Grinding with Metal Bond Tools

    We use industrial-grade grinders with metal bond diamond tooling to open the concrete’s surface. This step removes surface inconsistencies, old coatings, and helps flatten the slab, setting the stage for even polishing.

    5. Surface Profiling

    Depending on the level of gloss or aggregate exposure you want, we adjust our grinding process accordingly. This is when the final profile of your concrete begins to take shape.

    What to Expect from a Professional Prep Job

    When you hire Private Label Coating, you’re not just getting someone to run a grinder. You’re getting a precision-driven process tailored to your space and surface goals.

    Every project includes:

    • Site inspection and surface evaluation
    • Moisture and hardness testing (as needed)
    • Equipment and tooling selection specific to your concrete condition
    • Safety and dust control measures throughout

    Prep Today for a Better Finish Tomorrow

    The beauty and performance of polished concrete rely heavily on the prep work beneath it. If you want lasting shine, durability, and professional results, don’t cut corners—start with the right prep.

    Interested in learning more or getting a quote for your project?
    Contact Private Label Coating today to schedule a consultation.