• Efflorescence: The Hidden Threat That Can Sabotage Your Concrete Coatings – And How to Stop It

    Efflorescence: The Hidden Threat That Can Sabotage Your Concrete Coatings – And How to Stop It

    At Private Label Coating (PLC), one of our core values is educating our clients and contractors about the science behind superior surface preparation. One of the most common (and often misunderstood) issues that can compromise the longevity of a concrete coating system is something called efflorescence.

    So let’s break it down—what it is, how it forms, and why it matters for your floor.

    What Is Efflorescence?

    Efflorescence is a white, chalky or powdery residue that appears on the surface of concrete, brick, or masonry. It may look like dust or even dried salt deposits — and that’s exactly what it is: mineral salts that have migrated through the concrete slab and crystallized on the surface.

    How Does Efflorescence Occur?

    Efflorescence is the result of three key factors coming together:

    • Water-soluble salts within the concrete slab or substrate
    • Moisture movement through the concrete (from beneath or above)
    • Evaporation at the surface, which leaves those salts behind as the water exits

    Here’s the process in simple terms:

    • Moisture enters the concrete (usually from below the slab or from humidity)
    • That moisture dissolves naturally occurring salts and minerals inside the concrete
    • As the water migrates upward, it carries those salts to the surface
    • When the water evaporates, it leaves behind a visible white residue — efflorescence

    Where Is Efflorescence Most Common?

    • Garage floors
    • Basements
    • Outdoor patios
    • Driveways
    • New concrete pours (within the first year)

    It’s especially common in areas with:

    • High humidity
    • Poor drainage
    • Improper vapor barriers under the slab

    Why Efflorescence Matters in Coating Systems

    Efflorescence isn’t just cosmetic — it can cause major adhesion issues with epoxy, polyaspartic, and other resinous coatings.

    Here’s what can happen if not addressed:

    • Coating failure or peeling
    • Delamination from the substrate
    • Bubbles or pinholes in the coating
    • Shortened lifespan of the floor system

    Even worse, coating over efflorescence without resolving the underlying moisture issues will often trap moisture, accelerating future damage.

    How We Prevent and Treat Efflorescence at PLC

    At Private Label Coating, we’ve developed strict protocols for surface prep that address efflorescence before a single drop of coating goes down:

    • Moisture testing before installation (calcium chloride or RH tests)
    • Mechanical surface profiling (grinding or shot blasting) to remove surface contaminants
    • Efflorescence-specific cleaners or etching agents when necessary
    • Vapor barrier primers or moisture mitigation systems, if warranted
    • Proper cure time for new slabs before coating

    We also educate contractors and customers on things like drainage, ventilation, and post-install care to prevent recurrence.

    Is Efflorescence a One-Time Problem?

    Not always — efflorescence can come back, especially if the root cause (moisture intrusion) isn’t resolved. That’s why professional prep and coating systems must account for moisture movement before and after installation.

    Final Thoughts from the PLC Team

    Efflorescence is common — but that doesn’t mean it should be ignored. At PLC, we believe that education and preparation are what set apart a good coating job from a great one. Our goal is to protect your investment by delivering coatings that not only look amazing — but last for years to come.

    Whether you’re a homeowner looking to protect your garage floor or a contractor seeking next-level training and coating systems, we’re here to help you get it done right.al program and a discount on your first maintenance service.

    Contact Us Today

    Bryan: (830) 928-1945

    bryan.fuelexpert@gmail.com

  • The Ultimate Concrete Flooring Timeline: Key Steps for a Flawless FinishConcrete Polishing

    The Ultimate Concrete Flooring Timeline: Key Steps for a Flawless FinishConcrete Polishing

    General Considerations for Scheduling

    Exposed concrete floors demand a unique process compared to tile, wood, or carpet. If the floors need scoring or aggregate exposure, ideally, this should occur before framing. While it’s possible to work with walls already up, it’s preferable to handle this on an open slab.

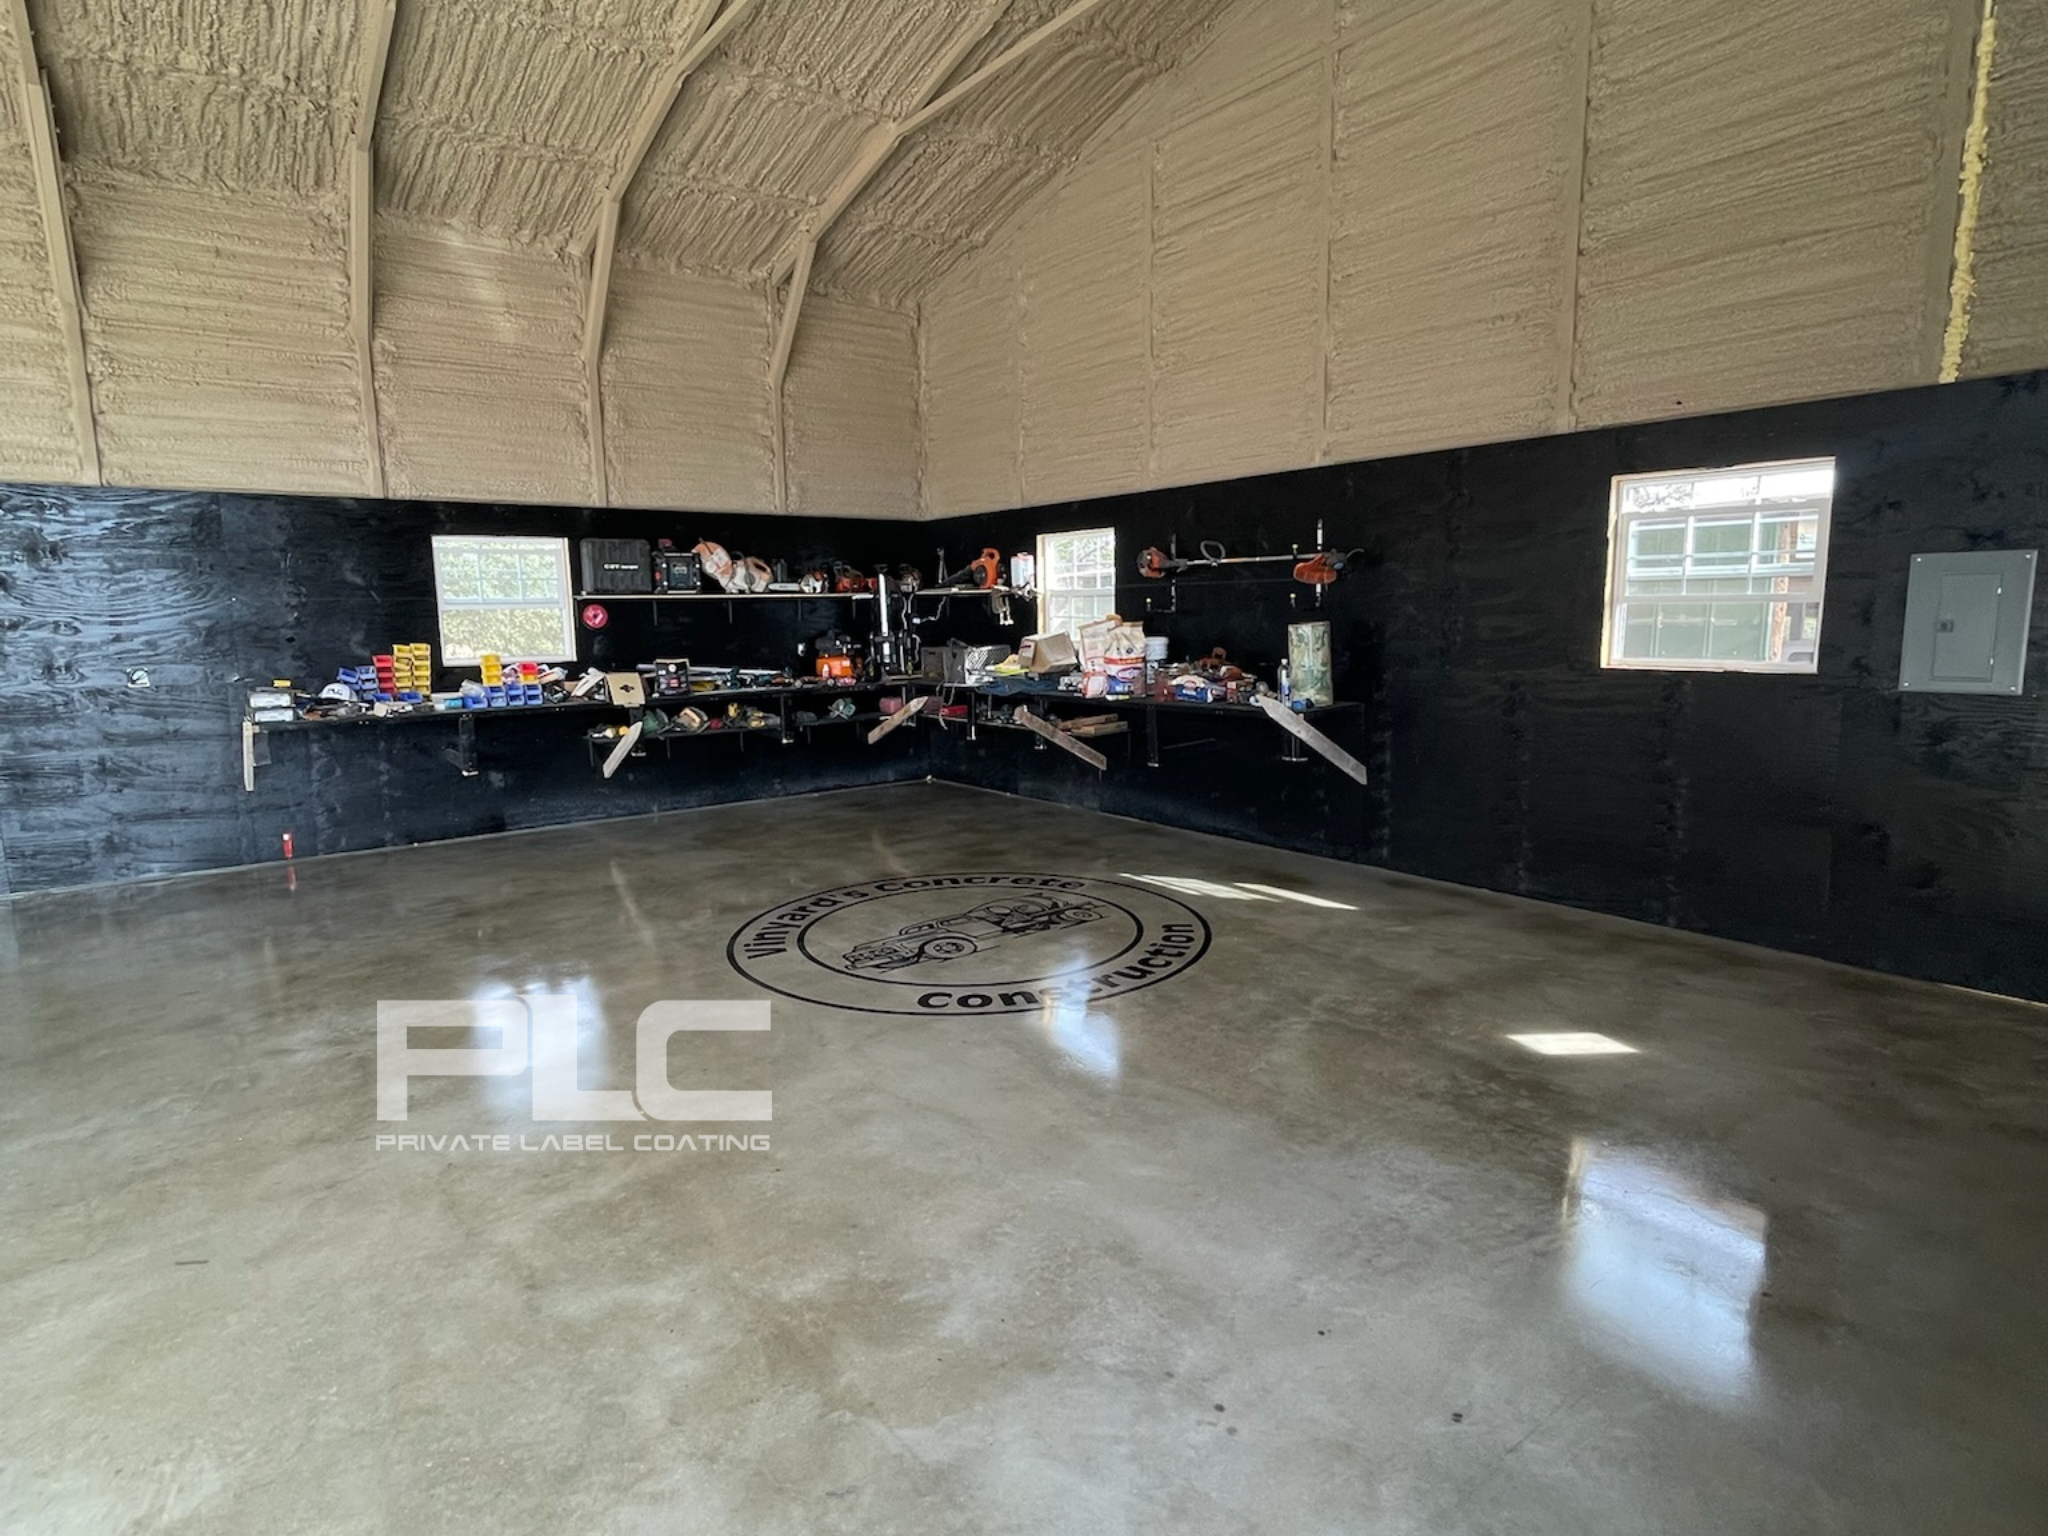
    Floor grinding involves progressively finer abrasives—a process known as honing and polishing. Honing, staining, densifying, polishing, and stain-guarding should be scheduled after the structure is fully dried-in but before drywall installation. These are wet and messy processes, and finishing them early reduces the risk of damaging unprocessed concrete.

    Once these steps are complete, temporary floor protection should be applied. Avoid taping directly to the concrete by using a thin paper around the perimeter, which can double as masking when trim is painted. If the drywall team leaves a mess or the trim carpenter needs the old paper removed, ensure it’s promptly replaced.

    Early engagement is key; some client requests may require coordination at the concrete placement stage.

    Concrete Placement Tips

    Control joints are often under-specified in residential construction. For better results, cut control joints at least 1/4 of the slab depth within the first 24 hours, and consider adding tensile strength with a second layer of reinforcement near the slab’s surface.

    For a deeper understanding of mix design and curing, refer to resources like the Portland Cement Association’s videos. When working with your concrete team, ask questions that draw out their best work and consider offering incentives, like pizza or beer, to encourage quality work throughout the day.

    Avoid curing blankets; water curing is ideal. You can create a 1” pond over the slab or use a sprinkler, ensuring the slab stays hydrated. Let your team handle the process they are most comfortable with, but consider ordering a more cement-rich mix for the interior slab to ensure a better finish.

    Tips for Framing

    Do not stack lumber on the slab longer than necessary, as it can cause discoloration. Avoid spilling air-tool oil on the slab, as it seals the concrete, preventing stains. Clean any spills promptly and use blue chalk instead of red, as red chalk can bond chemically to the concrete.

    Tips for MEP (Mechanical, Electrical, and Plumbing)

    Install conduits under the reinforcement during the slab rough-in. If you miss a slab penetration, notify us early, and we can offer creative solutions that might even enhance the client’s satisfaction.

    Tips for Spray Foam Installation

    Ideally, install spray foam insulation after our work is complete to avoid complications. If you must install before us, ensure the floor is properly masked.

    Tips for Trim Carpentry

    If drywall leaves a mess, and you want to avoid installing trim on textured paper, replace the paper instead of just removing it. We can assist with this work if needed. When setting cabinets that will be finished in place, replace ram-board with paper to function as masking.

    Tips for Painting

    Avoid taping directly to the floor, and if you must, remove the tape as soon as possible. A spray shield and solvent-soaked rag can fix mistakes without causing damage to the floor finish.

    Tips for Masonry

    When working indoors, use OSB or similar material over ram-board to protect the floor from falling debris. Avoid taping directly to indoor floors, and if working outdoors on acid-stained concrete sealed with acrylic, limit taping to seven days or less.

    Tips for the Final Polish

    Schedule the final polish after appliances are installed and during the final cleaning phase. This step is optional, depending on whether you prefer a matte finish or want the additional shine from the final polish. The final polish process is more about detailing than a full refinish, and it should be timed to avoid the need for a repeat polish.They walked out onto the deck. All the buildings and smoke had vanished, and the ship was in a vast expanse of sea, fresh and clear yet faint in the morning light.

    They had departed from the city lying in the mud. A very thin silhouette stretched on the horizon, barely strong enough to support the weight of a distant city, which still lay upon it. They were free from paths, free from people, and a shared sense of liberation filled them all.